
We may earn revenue from the products available on this page and participate in affiliate programs. Learn More ›
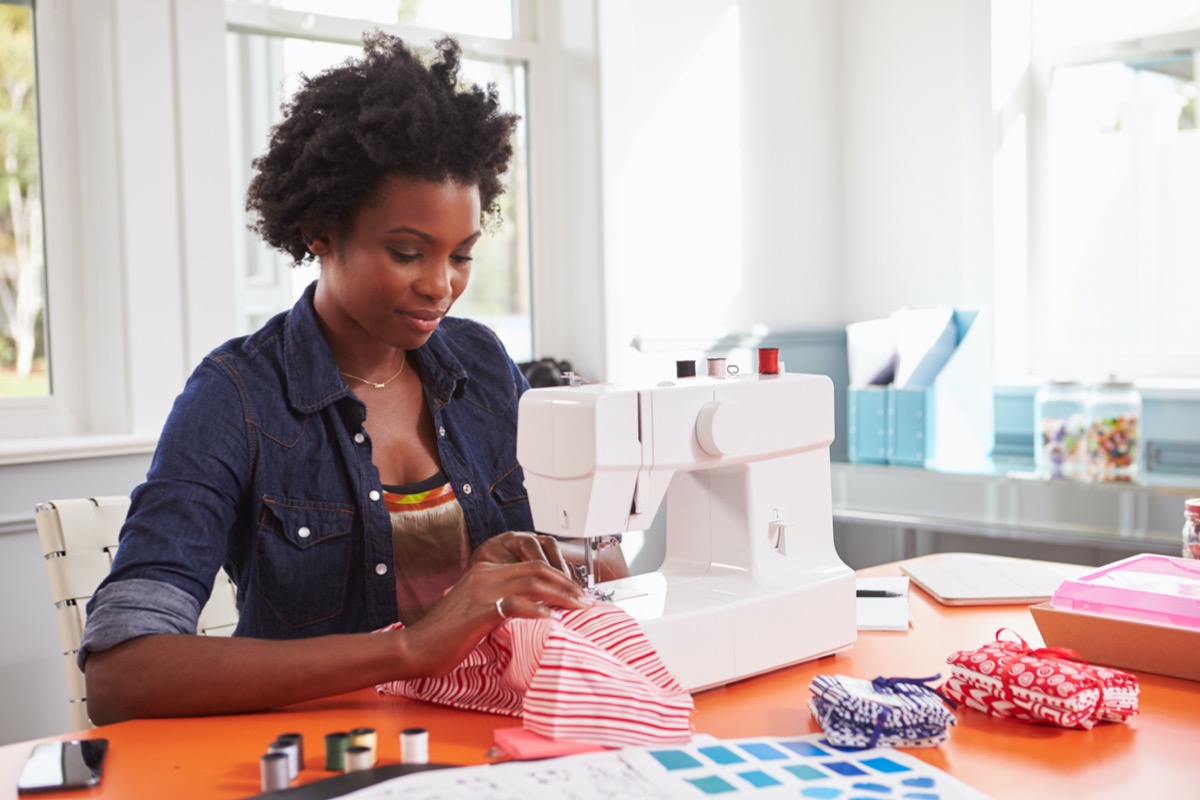
Knowing how to use a sewing machine opens the door to a whole new world of DIY projects. These tabletop machines are convenient to use and make it easier and faster to flex your creativity. Setting up your sewing machine is the first step to create something new—but the first time using a sewing machine can feel overwhelming. While these machines look complex, getting started is straightforward once you know how to use the dials, levers, and bobbins. Learn how to use a sewing machine by following the steps ahead.
Sewing Machine Parts
Before learning how to use a sewing machine, it’s important to become familiar with its key components.
- Power Switch: Usually located on the right side of the machine, the power switch turns the sewing machine on and off.
- Foot Pedal: The foot pedal controls the sewing speed. Pressing down on the pedal allows you to start stitching. Pressing harder on the pedal makes the machine sew faster, and pressing lightly makes it sew slower.
- Spool Pin: The spool pin is a small metal or plastic pin that holds the spool of thread. It can have a vertical or horizontal configuration, and it’s usually located on top of the sewing machine.
- Thread Guide: The thread guide steers the thread from the spool pin to the bobbin winder. This small metal piece holds the thread and is usually located on the top right of the sewing machine.
- Bobbin Winder: The bobbin winder is usually located on the top right of the sewing machine. As the name suggests, its purpose is to wind thread onto the bobbin.
- Hand wheel: Usually located on the right side of the machine, this large dial is used to manually lower or raise the needle.
- Stitch Selector: The stitch selector dial allows you to choose the active stitch type. On many newer sewing machines, stitch selector dials have been replaced with LCD displays with touchscreen and/or button inputs.
- Thread Take-Up Lever: The thread take-up lever is usually located on the top left side of the sewing machine. It holds the top thread taut between the spool pin and needle.
- Needle Clamp: The needle clamp is a small metal screw that holds the needle in place.
- Presser Foot: The presser foot is located adjacent to the needle. It looks similar to a small ski and can be raised and lowered using the presser foot lever. This piece helps hold fabric in place while sewing.
- Needle Plate: The needle plate is the metal plate located just below the needle.
- Feed Dogs: The feed dogs are small metal ridges located on the needle plate. These mechanisms pull fabric through the machine while sewing.
- Bobbin Cover: The bobbin cover protects the bobbin in the sewing machine, holding it in place.
RELATED: How to Sew a Button in 5 Easy Steps
BEFORE YOU BEGIN
This guide outlines the basic steps for sewing machine setup and operation, but keep in mind that directions can differ between machines. When in doubt, refer to your sewing machine’s manual for exact setup and operation instructions.
Before proceeding, place the sewing machine on a sturdy table at a comfortable height. Ensure both the needle and presser foot are installed before moving ahead to the next steps.
STEP 1: Wind and install the bobbin.
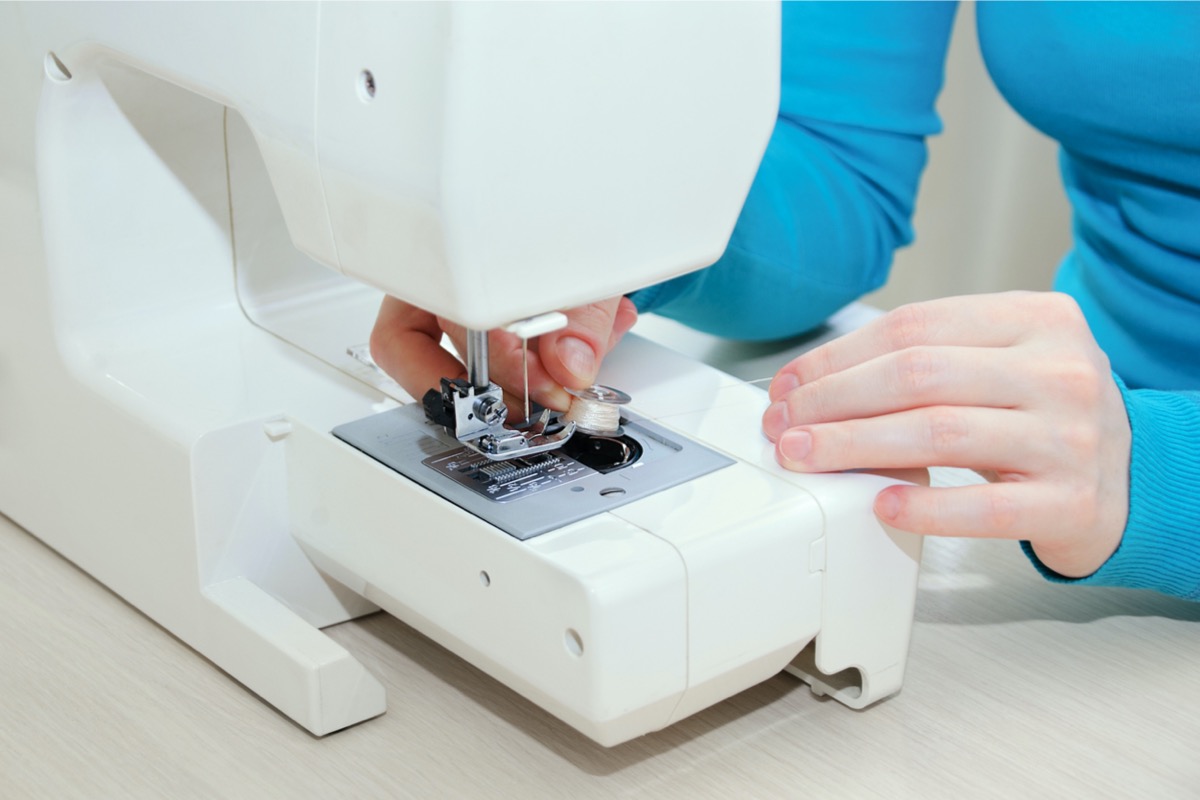
Many sewing machines have an automatic bobbin winder. To use the bobbin winder, place the thread spool on the spool pin. Follow instructions on the sewing machine (or in the manual) that show how to guide the thread to the bobbin winder. Slide the end of the thread through the small hole in the bobbin before placing the bobbin on the bobbin winder.
Slide or click the bobbin winder into the winding position. Hold the end of the thread and press the foot pedal to start winding the thread onto the bobbin.
Stop winding once the bobbin is full. Trim the thread, take the bobbin off the winder, and install it into the machine under the bobbin cover. The bobbin slot can vary across different sewing machines, so check the manual for exact instructions on how to insert the bobbin if you are having any trouble.
STEP 2: Thread the machine.
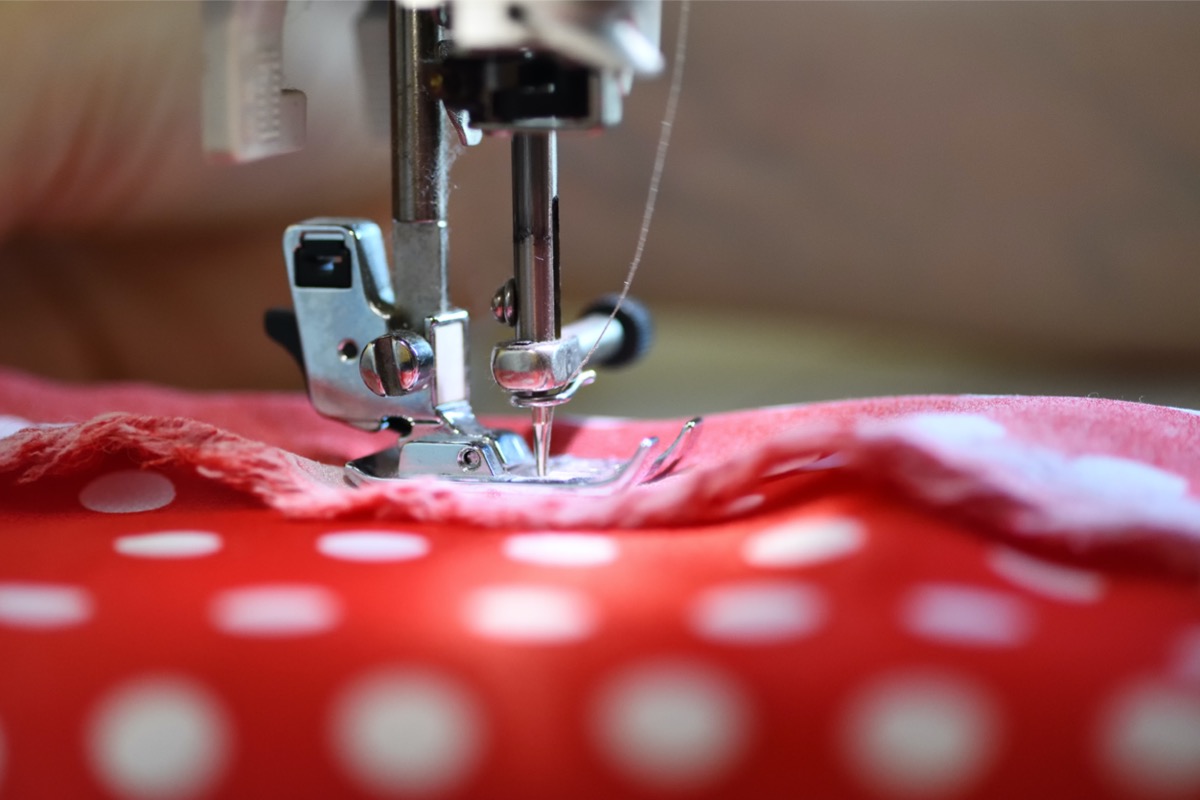
Sewing machines create stitches using a bottom thread from the bobbin and a top thread from the thread spool. Now that the bobbin is installed, it’s time to thread the machine.
The thread spool should already be in place on the spool pin. Take the end of the thread and follow the threading guide on the sewing machine (or in the manual) to correctly place the thread. Once the thread is weaved throughout the machine, push the thread through the eye of the needle. Threading the needle can be done by hand or with an automatic threader, if your sewing machine has this feature.
RELATED: 12 Things That Belong In a Beginner Sewing Kit
STEP 3: Prepare your thread and select your stitch.
Both threads need to be pulled out before you can start sewing. To pull the thread up from the bobbin, use your left hand to hold the needle thread taut. Use your right hand to turn the handwheel on the right side of the sewing machine. Turn it one full revolution to allow the needle to catch the bobbin thread and bring it up above the needle plate. The exposed bobbin thread should be looped. Pull on the loop to bring up the bobbin thread tail.
You will now have two threads: one threaded through the needle at the top and one thread coming up through the needle plate at the bottom.
You’re almost ready to start sewing. Use the stitch selector dial to choose your desired stitch. To test if the machine is properly threaded, you can run a few stitches on a piece of scrap fabric.
STEP 4: Prepare your fabric.
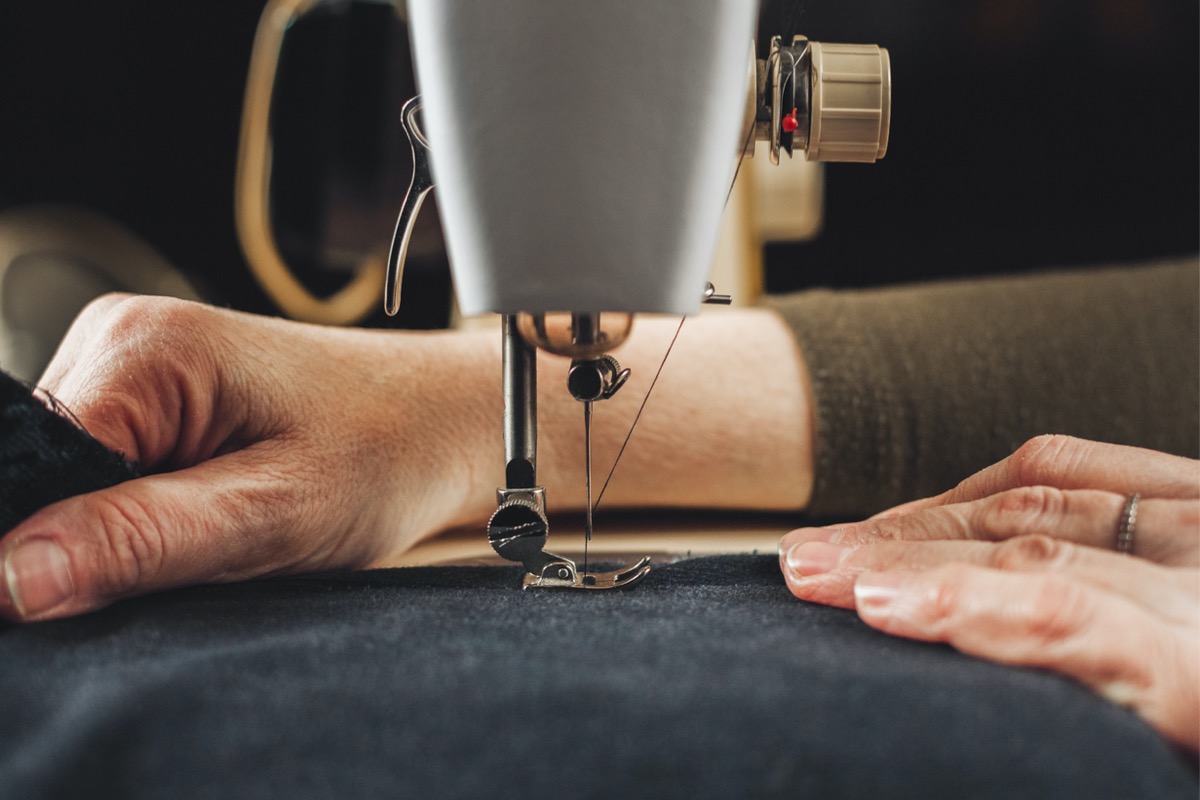
When you’re prepared to start sewing, get your fabric ready. The sewing machine needle should be raised, and the fabric should be in line with the needle. Keep the bulk of the fabric on the left side of the machine for smoother sewing. Using the presser foot lever, lower the presser foot to hold the fabric in place.
STEP 5: Start sewing.
It’s time to start stitching. Make sure the foot pedal is positioned comfortably under the table. Hold the loose ends of the threads out of the way for your first few stitches; this will also prevent the threads from retreating into the fabric. Gently press the foot pedal to start sewing your first stitches.
To keep the stitches securely in place and prevent them from being pulled out, you will need to do a reverse stitch (also known as backstitching) at the beginning and end of each seam.
The feed dogs will move the fabric along when you start sewing, so you only need to gently guide the fabric through the machine as you stitch. Pulling or tugging the fabric can damage the needle, so let your sewing machine do the work.
STEP 6: Reverse stitch and continue sewing.
After a few regular stitches, click or hold down the reverse stitch button or lever. This will reverse the sewing direction. Reverse stitch for a few stitches (along where you just stitched) to secure the seam.
Switch off or remove your finger from the reverse stitch control to revert to regular stitching. Continue sewing until the end of your seam. Do a few more reverse stitches to secure the seam.
RELATED: The Best Sewing Kits for Patches and Repairs
STEP 7: Finish the stitch.
When you’re finished, use the hand wheel to raise the needle out of the fabric. Use the presser foot lever to raise the presser foot and then remove the fabric. Cut the threads to detach your project from the sewing machine, making sure to leave a bit of thread coming from the machine so you can easily sew your next seam.
Final Thoughts
While learning how to use a sewing machine isn’t too difficult, it will take time and practice to master the process. By following the above steps and referring to your sewing machine’s manual, you can get your next textile project off the ground more easily than ever before.