We may earn revenue from the products available on this page and participate in affiliate programs. Learn More ›
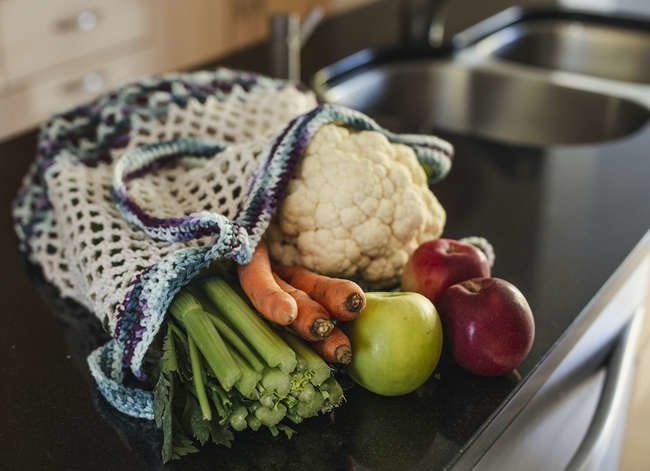
Groceries that keep on giving
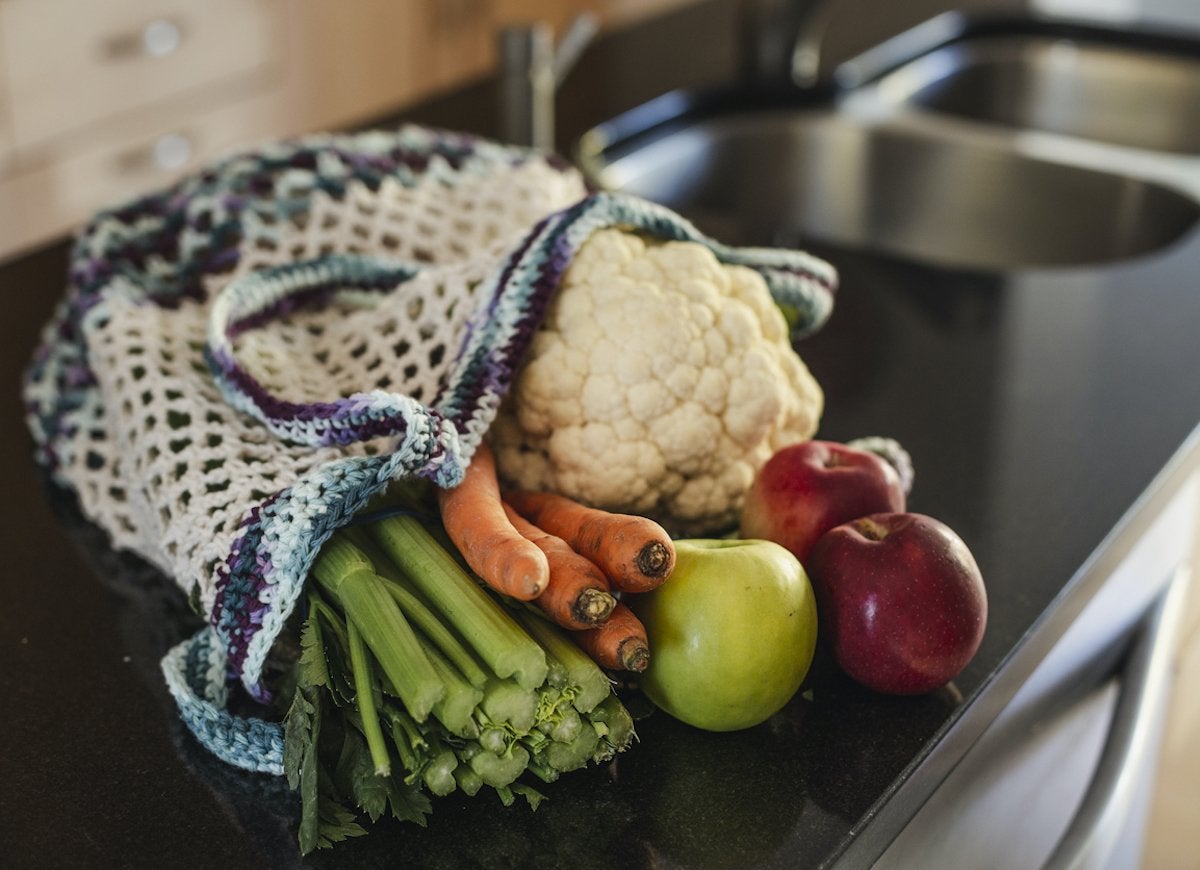
It’s truly gratifying to grow your own food, but not everyone has the time and space for an entire vegetable garden. Fortunately, getting a start on growing your own can be as easy as a trip to the market! You can regrow food from your kitchen scraps, which means that you’ll always have on hand such recipe staples as green onions, basil, bean sprouts, and fresh ginger. While you can try to use produce bought at the grocery store, much of it has been treated and cold-stored to inhibit growth and decay. As a result, your best bet for success is locally grown produce picked up at the farmers’ market. Whichever route you choose, the preparation process doesn’t demand a big investment of time or money, so why not give regrowing your food a try! Click through for some of the best contenders for your kitchen-scrap garden.
Potatoes

Potatoes are a cinch to regrow! In fact, you may already have a few in your pantry that are starting to sprout. Just cut the potato into about two-inch chunks, each containing at least one eye. Let the pieces dry out overnight so they won’t rot once they’ve been planted. Then, bury them about eight inches deep in very rich soil or compost in the early spring. When the sprouts pop up above the surface, add another four inches of soil—and expect a crop of potatoes by midsummer.
Basil
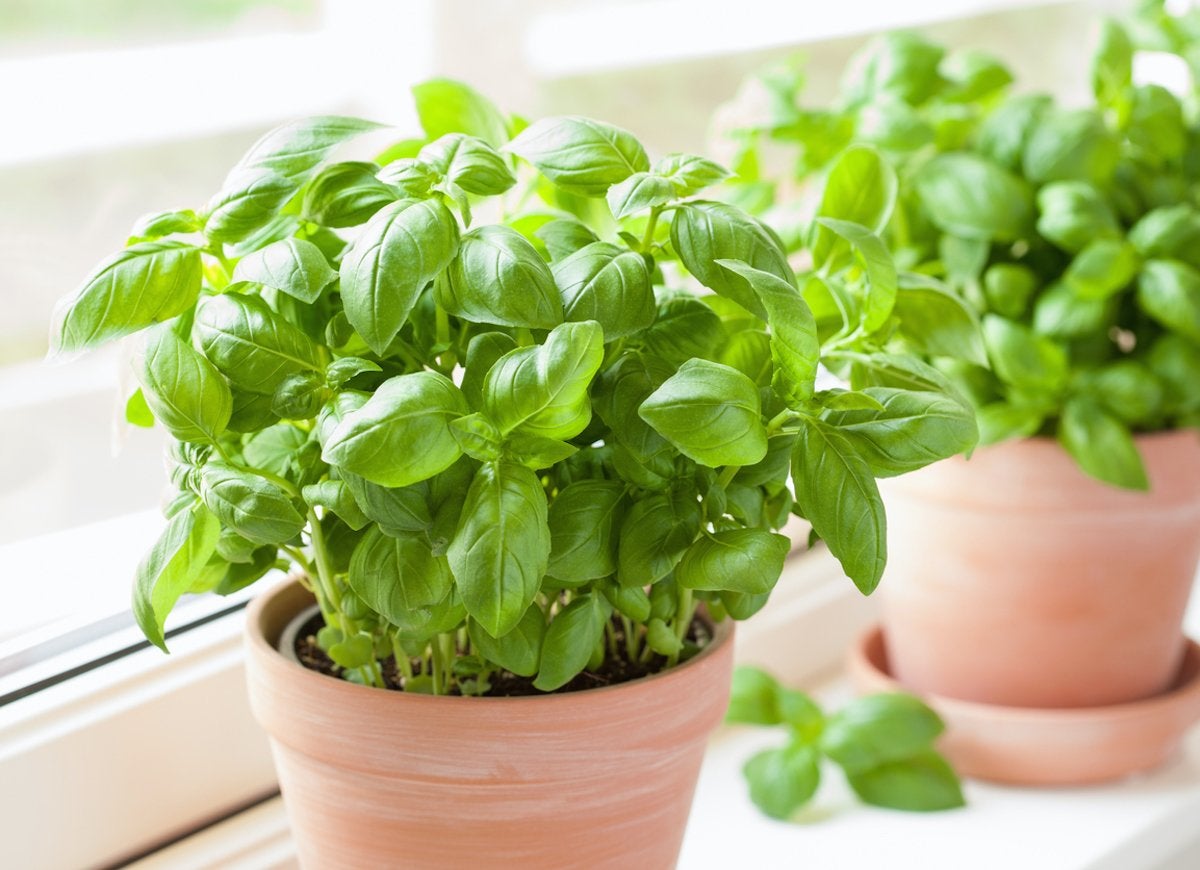
Basil is easy to propagate from cuttings. Just use kitchen scissors or a sharp knife to clip a two- to three-inch sprig just below a leaf node (where new leaves are starting to grow). Pull off any larger leaves next to these new ones, and submerge the node in a jar of water. Place the jar in a sunny windowsill and change the water every other day. Within a week, you’ll see roots emerge. Once those roots have grown about two inches, the herb is ready to plant outside or in a pot.
Tomatoes
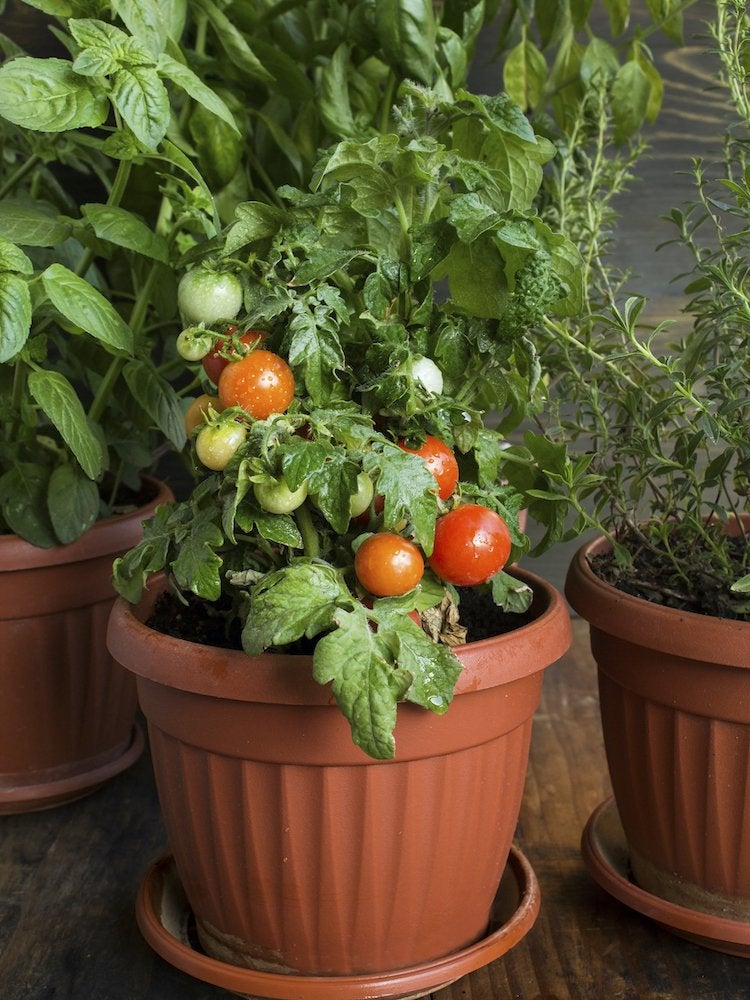
If you’ve got a particularly juicy and wonderful tomato, save a few of the seeds to grow new plants next year. Simply squeeze some pulp onto a paper towel, and let the seeds dry out for a week. Then, store the seeds in an envelope until January, when you’ll plant them in light potting soil and keep them moist in a sunny window. By spring, they’ll be ready to move out to the garden, and you’ll have tomatoes all summer long.
Garlic
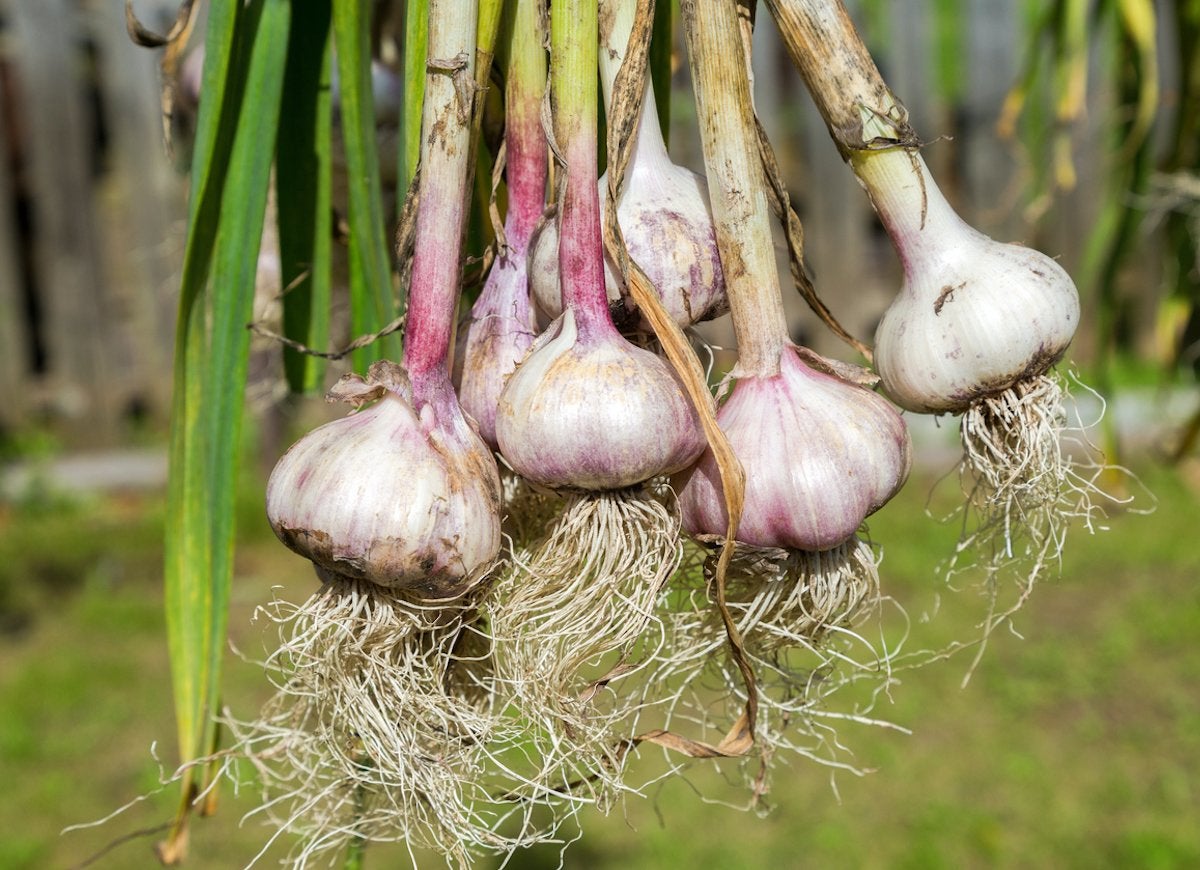
Growing a new head of garlic from a single clove is very easy, but it requires patience. Simply plant the clove in the ground in fall, about a month before frost. Place it root side down, about two inches deep, and you’ll be ready to harvest it the following summer.
Green Onions
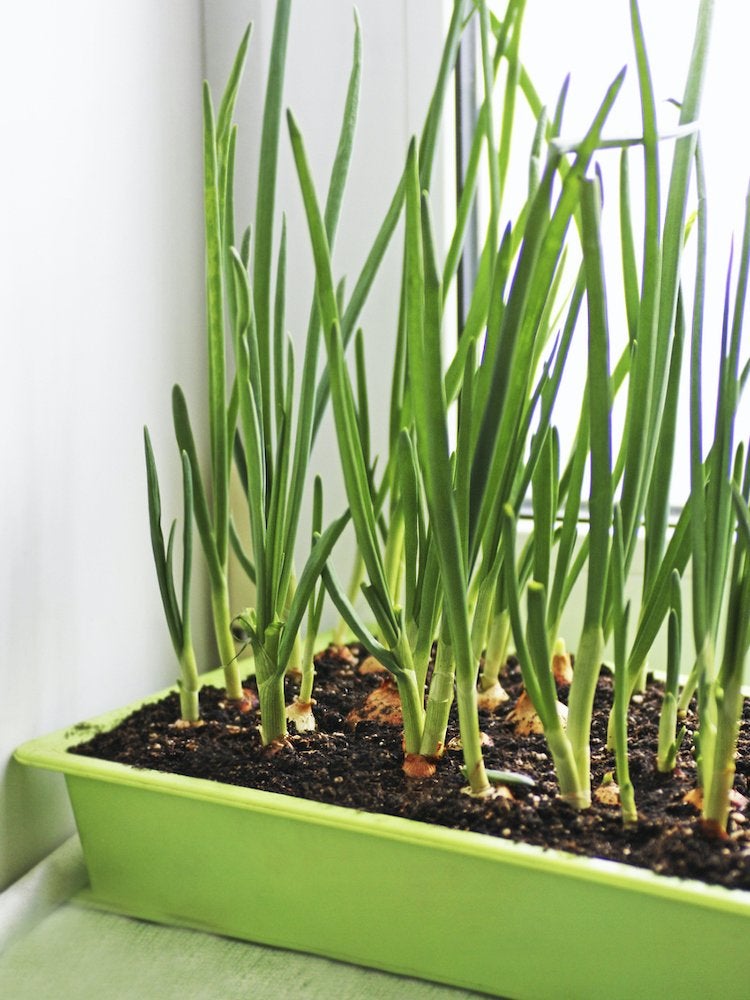
Green onions are another vegetable easily regenerated—all you need is water. Just place the bottom part, with the roots, into a jar of water and move it to a sunny spot. Change the water every couple of days. The shoots will start to emerge again. Cut off what you need for recipes, and continue to let the rest grow.
Turnip Greens
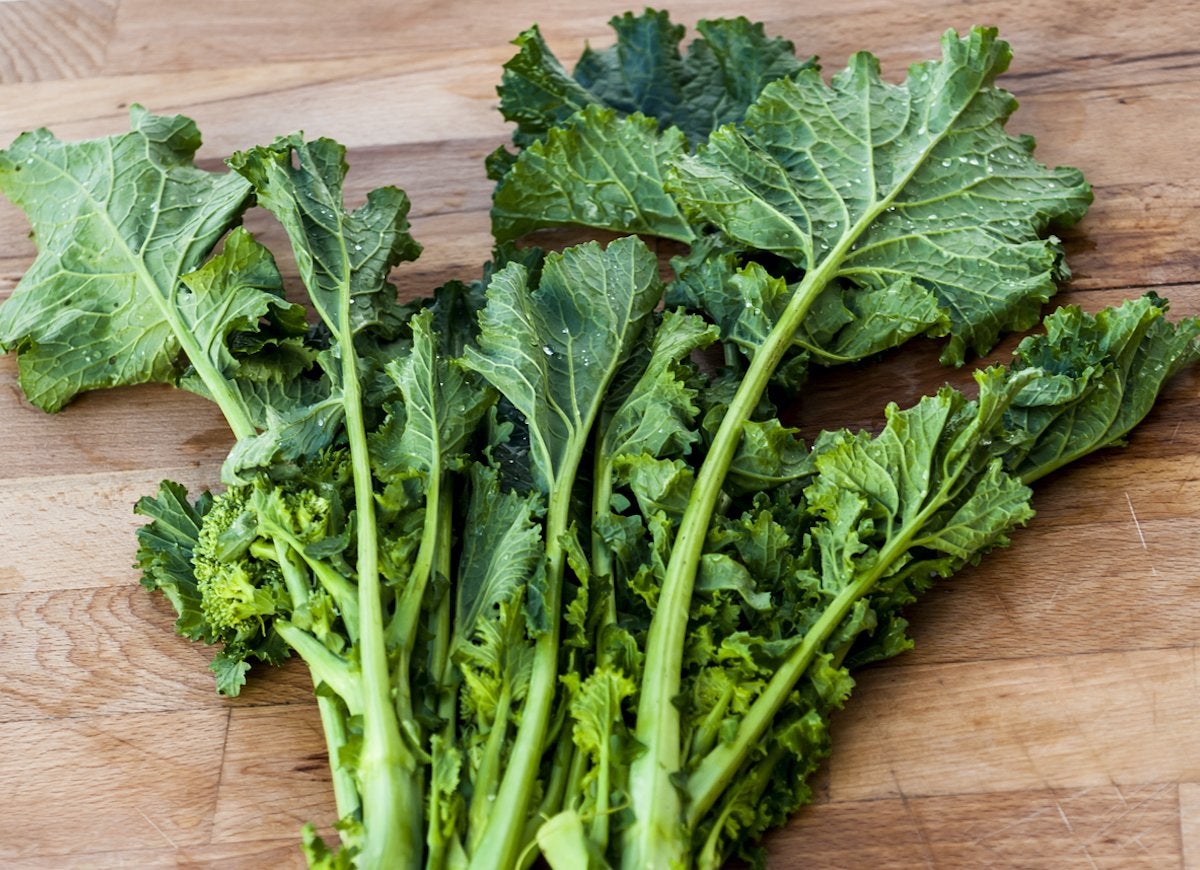
You can’t grow a turnip from scraps, but you can grow turnip greens to enjoy in salads! In fact, this same method works for carrot tops and beet greens too. Make sure you buy root vegetables that still have the greens attached. Then, cut them about two inches from the top and place the tops in water, cut side down. Keep them in the sun and make sure you keep the water level consistent. Harvest greens as you need them.
Bean Sprouts
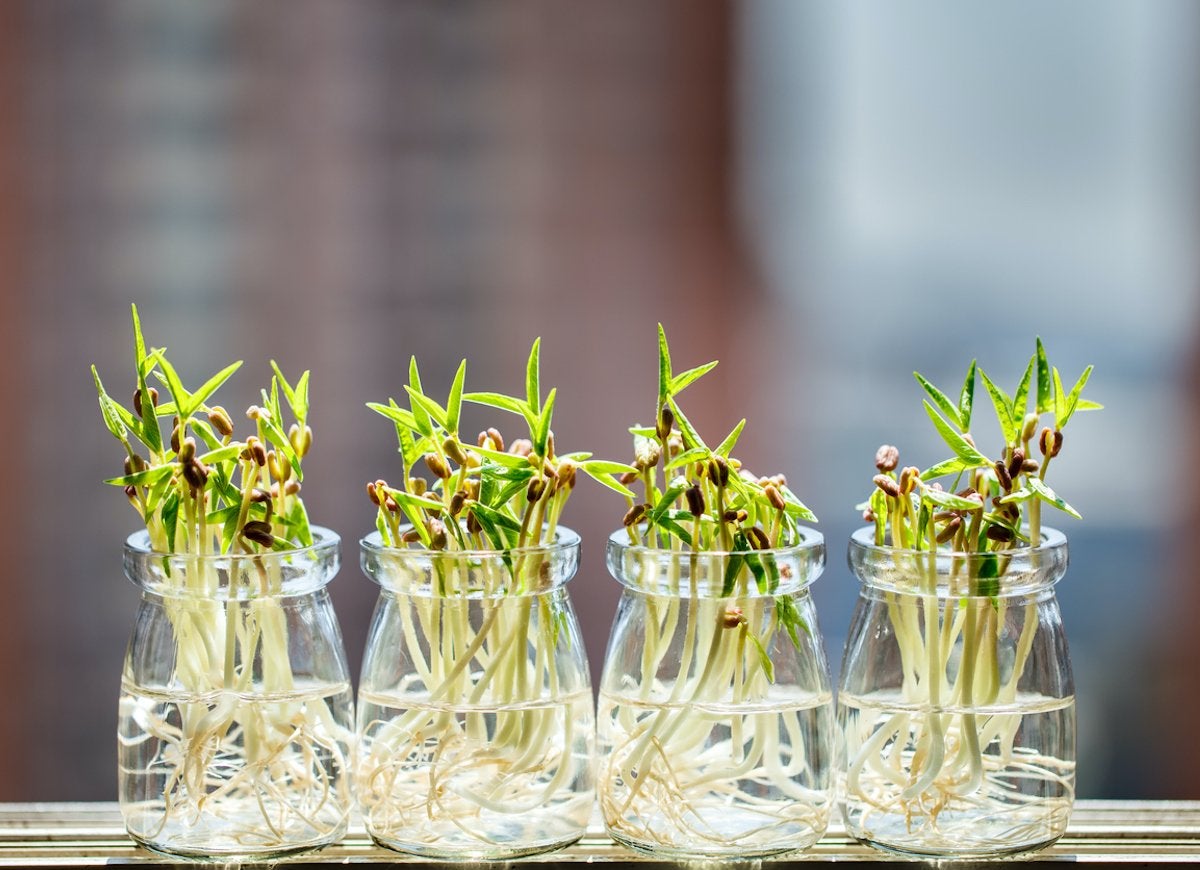
If you’ve got some extra lentils (or other beans) at the bottom of the bag, use them to grow bean sprouts. Put them in a glass jar and fill with water to soak overnight. Then, pour off the water and drain the beans. Sit the jar in a sunny window, and rinse the beans every day. In a week or less, you’ll have homegrown sprouts to harvest for salads, sandwiches, and other dishes.
Ginger

Fresh ginger root can be regrown and continually used right in your kitchen. Leave your root on a windowsill until one of its eyes sprouts, then bury it (sprout side up) about three inches deep in a pot of rich soil. Move the container to a sunny spot, and it will start to grow as a lovely houseplant. You can dig it up and harvest ginger from it as needed—just replant it again so it can continue to grow.
Celery
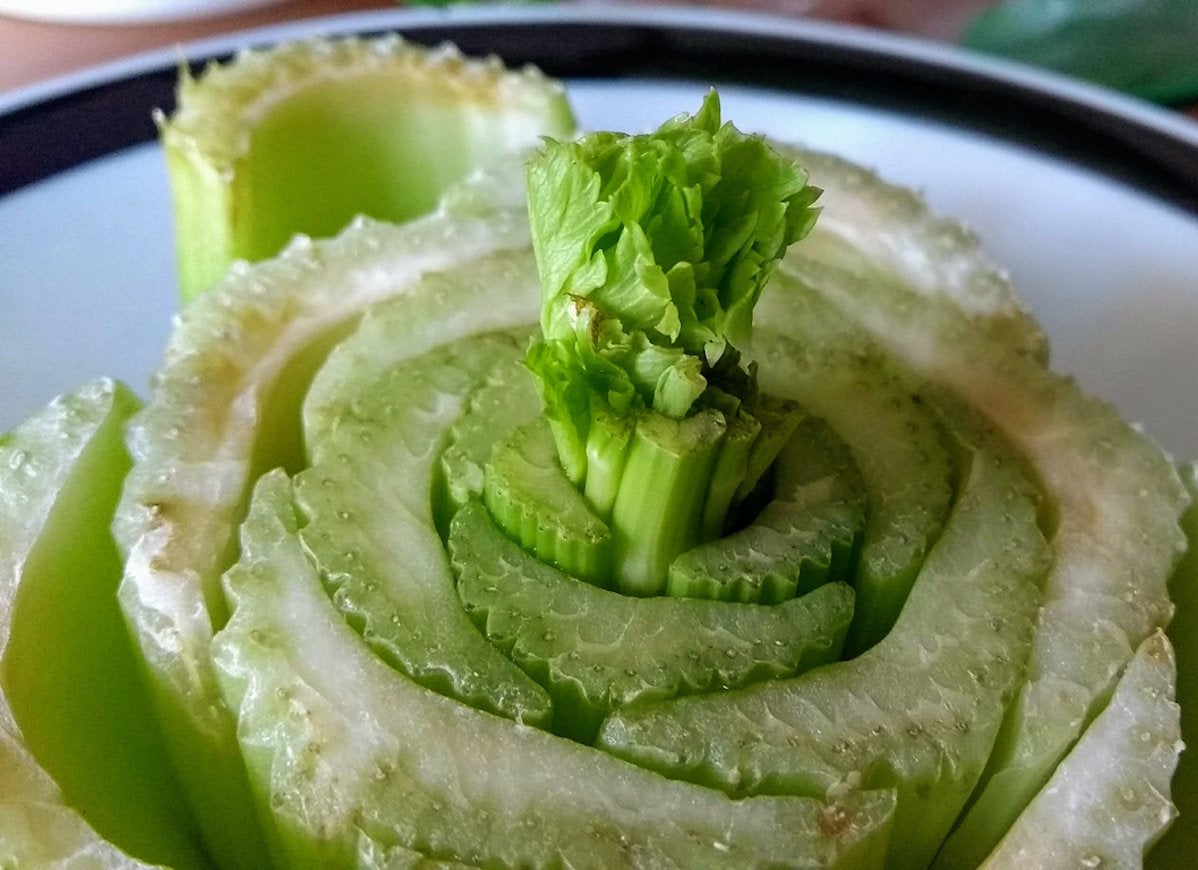
Celery can be regrown from the bottom end that you typically cut off and throw away. Just put the celery bottom in a dish filled with an inch or two of water, and place it in a sunny windowsill. Once roots sprout at the bottom, you’ll see new leafy stalks growing up from the center. Transfer the plant to soil, either in the ground or in a pot, and continue to water it regularly. It will take several months to grow as big as a celery bunch you’d see at the grocery store, but you can cut stalks as they grow for use in salads and as garnishes.
Romaine Lettuce
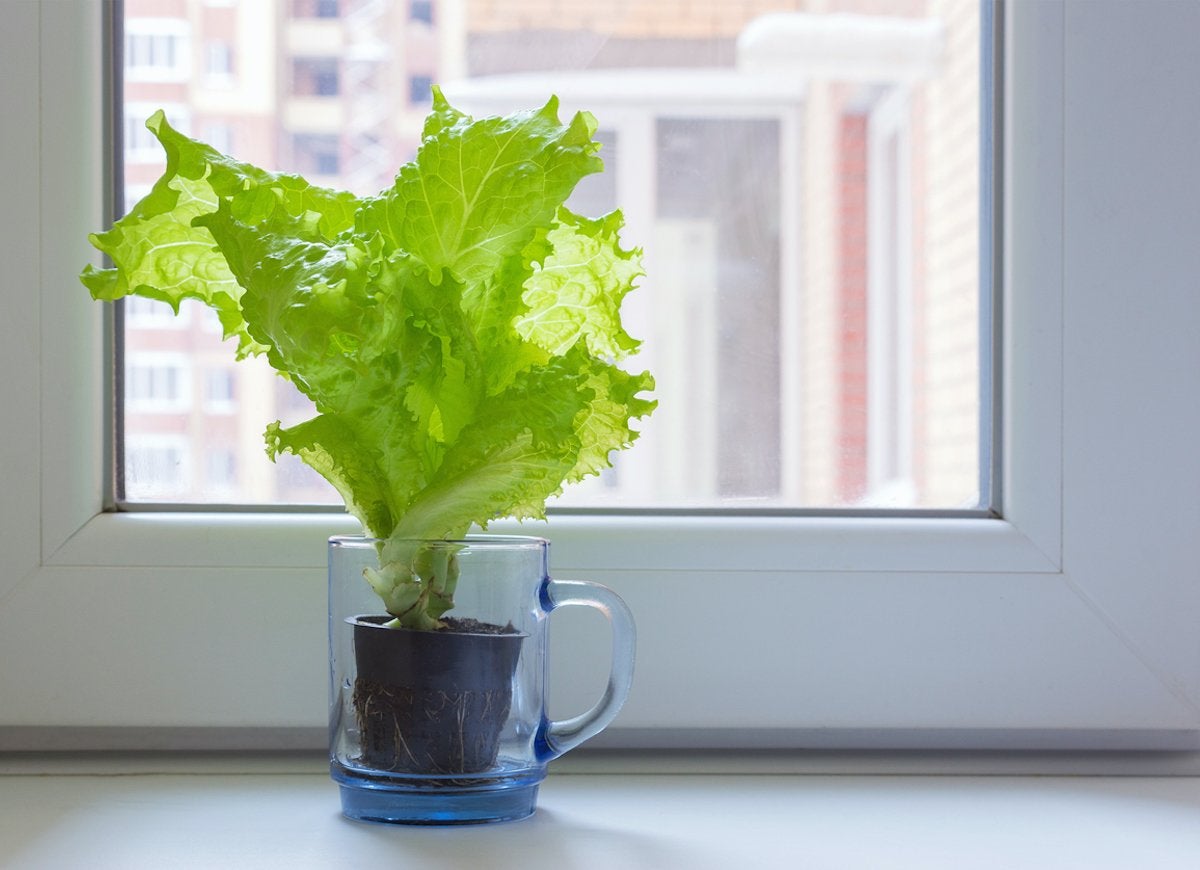
Next time you make a salad, don’t throw away the core you cut from the bottom of your lettuce. Instead, poke a few toothpicks into the bottom to make a little stand, and set the core in a jar. Fill it with water until the bottom of the lettuce is covered by about an inch. After it has sat in a sunny window for a couple of weeks, you’ll see new leaves growing out from the center. You can plant it in the ground or in a pot of soil; harvest the leaves as they grow big enough to eat.