
We may earn revenue from the products available on this page and participate in affiliate programs. Learn More ›
If you’ve recently noticed that your clothes dryer is taking longer to dry clothes than it used to, it’s time to clean the dryer vent. A dryer vent that’s clogged with lint and other debris can make for a longer drying cycle, but it also can trigger a much more serious problem—a dryer fire. Clogged dryer vents are one of the top causes of dryer fires, so it’s critical to know how to clean a dryer vent.
Although it’s a much less dramatic concern, an inefficient dryer can cost you both time and money, tacking on as much as $20 a month to your utility bill. Sure, you could hire a professional to clear out the vent for you, but this is a job that many DIYers can do. Read on to learn how to clean a dryer vent, and how to keep it well maintained.
Project Summary
- Unplug the dryer.
- Detach the dryer vent hose.
- Clean the hose and vent openings.
- Discard the debris.
- Clean the exterior vent cover.
For full instructions, continue reading below….
Tools & Materials
Bobvila.com may earn a commission from purchases made through these links.
- Vacuum cleaner or shop vac
- Screwdriver
- Leaf blower (optional)
- Vent cleaning brush
- Microfiber cloth
- Dryer vent hose (optional)
- Vent hose clamps (optional)
Step 1: Cut power to the appliance.
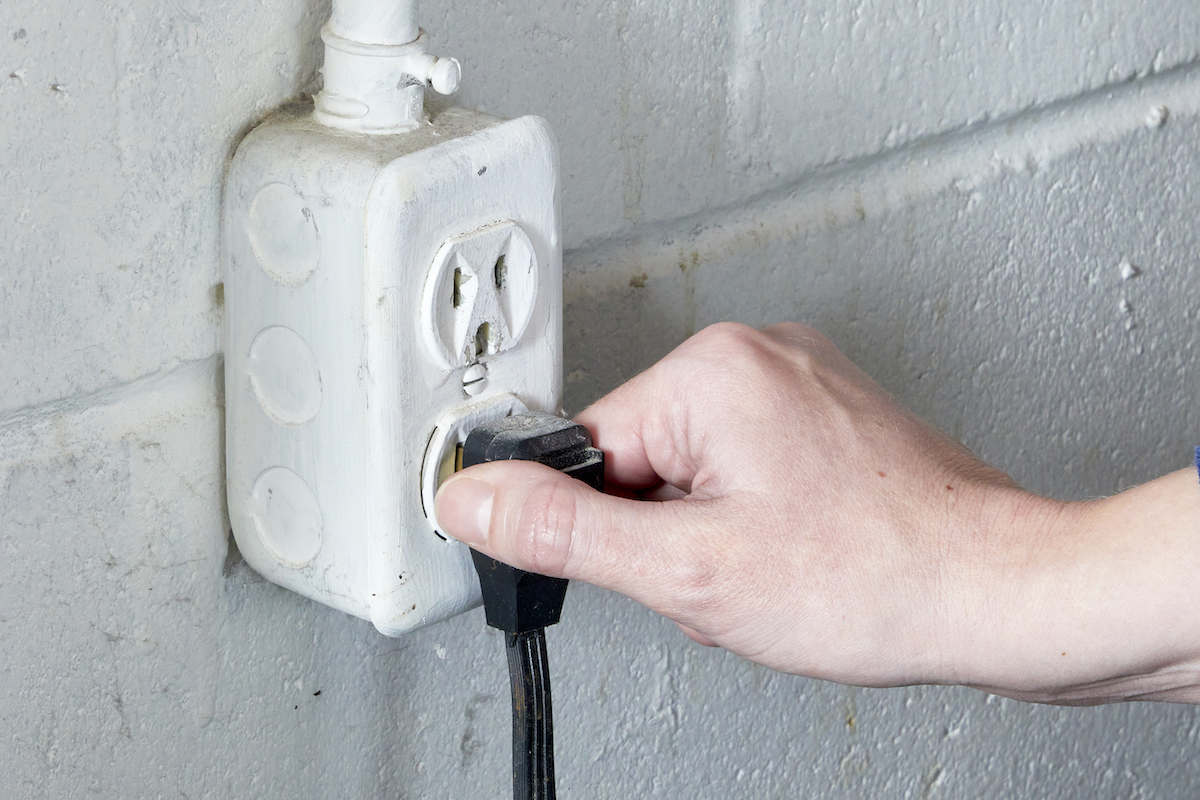
The first and most important step is to cut power to the clothes dryer. To maintain safety, don’t do any work on the vent while the appliance is drawing electricity. The simplest and safest way to cut power is to unplug the unit. Keep in mind that this may require pulling the dryer out from its current position. Don’t strain yourself. If the machine is too heavy to move on your own, enlist help from another person. If you have a gas dryer, close the valve on the gas line as well.
Step 2: Locate the vent and disconnect the hose.
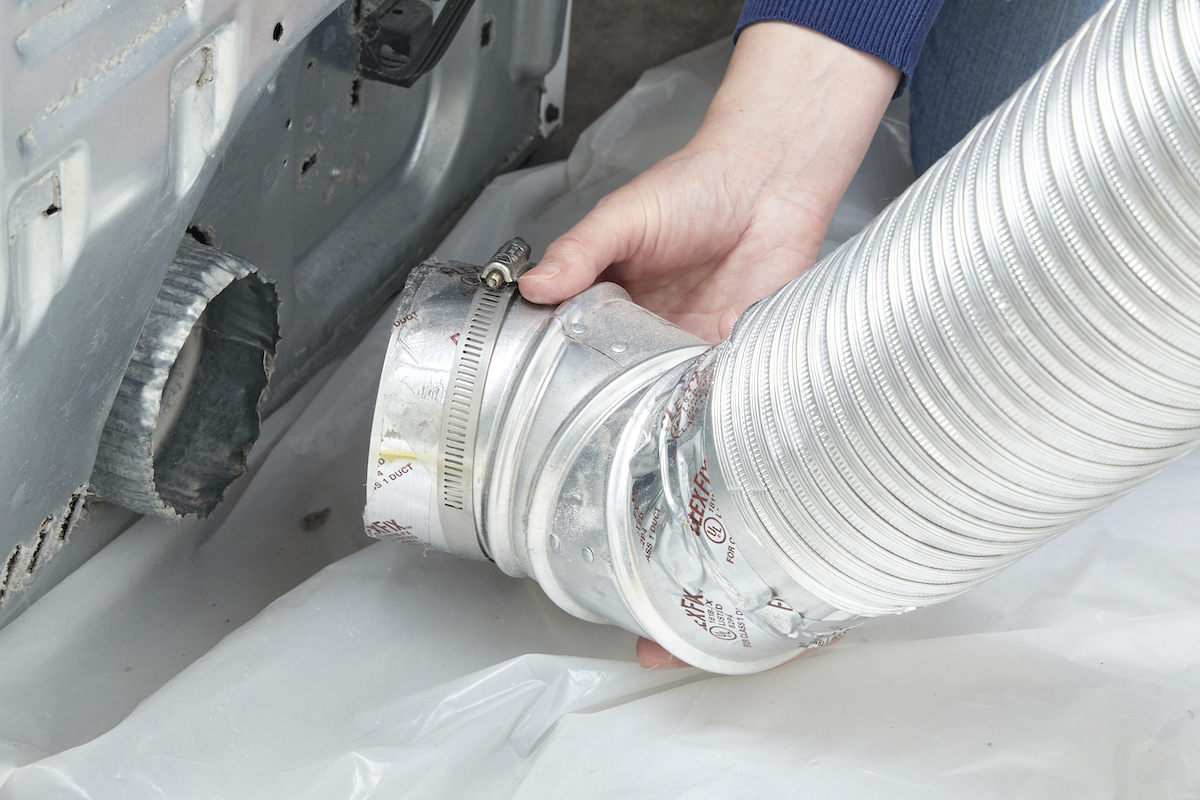
Dryer vents are typically easy to find. Look for a thick silver or white hose coming from the back of the dryer. It should be about 4 inches in diameter and can be made with flexible white vinyl, thin aluminum foil, semi-rigid aluminum, or completely rigid aluminum piping. Once you have located the vent hose at the back of the dryer, just follow it along to the place where it exits the home. It should be held in place at both ends by a circular bracket that fits over the top of the 4-inch hose and tightens around the transition vent piping.
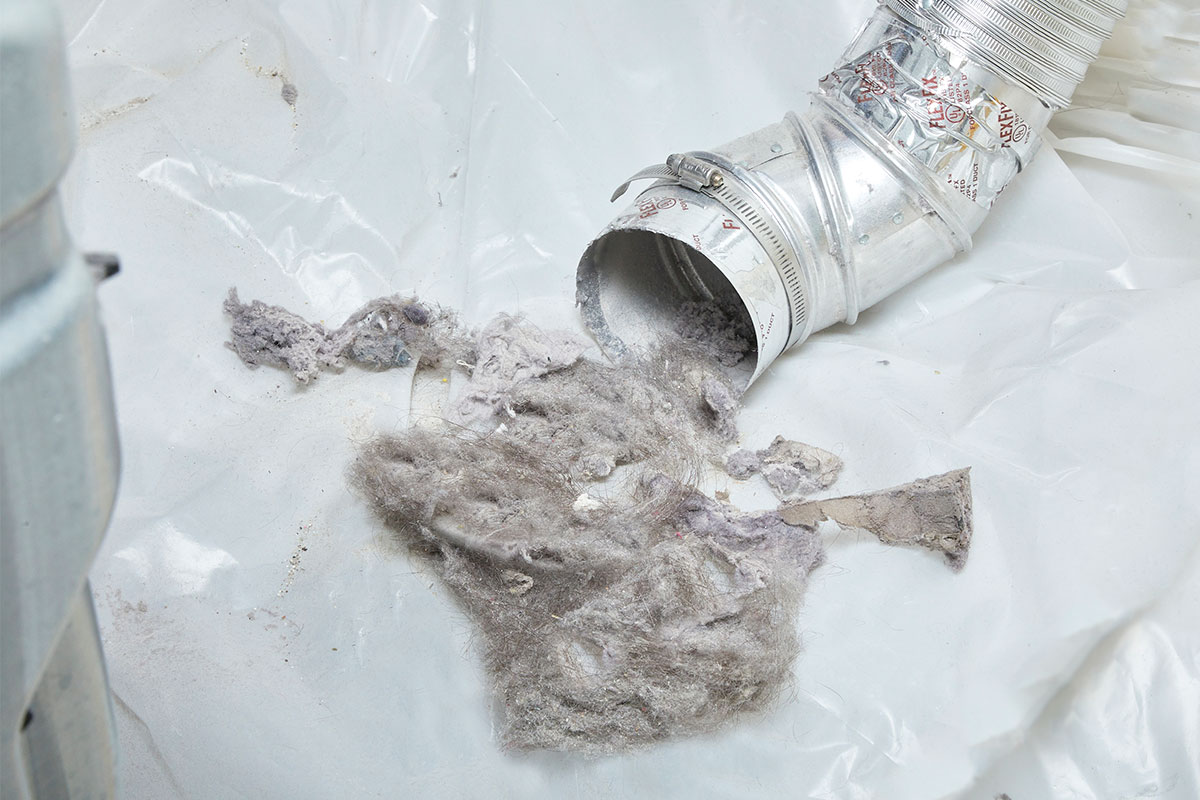
Pull the dryer out from the wall as far as your vent hose will allow (typically, about 1 to 2 feet). Place a drop cloth on the floor to catch debris. (This is especially important for a vent that has never been cleaned, because there is likely to be a large amount of accumulated hair, lint, dust, and dirt.)
Use a screwdriver to loosen the clamp that keeps the vent hose attached to the dryer. Depending on your dryer vent set up, you may only need to detach the hose at the back of the dryer. If your circumstance requires it, detach the hose from the wall as well and place the hose on the floor.
“Because my dryer vent hose travels upward from the basement laundry room to exit the house, the best cleaning method I’ve found is to detach the hose from the dryer, but keep it connected to the wall, and use a special drill attachment to push the debris downward from the outside in.”
— Jenny Stanley, Executive Editor, Service & News, Bob Vila
Step 3: Carefully clean the hose.
With the vent hose detached, you have a few choices for how to quickly remove the bulk of the debris in the vent:
- Use a dryer vent cleaning brush to break up the clog. These tools typically consist of a multi-sided brush and an extension pole. Some brushes can be used with a drill, as shown in the photo above, so that while they are moving it through the vent hose, the brush is also rotating rapidly to dislodge any stuck-on debris.
- Use the hose attachment on a vacuum cleaner or shop vac. The hose attachment of your vacuum cleaner can be used to simply suction out clumps of lint and hair from the hose. If needed, work from both ends of the hose until all of the debris has been suctioned out.
- Blow out debris with a leaf blower. Carefully consider using a leaf blower to push any excess debris out of the hose. If you choose this method, take the hose outdoors and make sure the open end is directed into a garbage bag to prevent making a big mess.
Step 4: Discard the debris and reattach the hose.

No matter which dryer vent cleaning method you choose, be sure to clean up the debris inside or outside of your home. The method illustrated in the photos above (inserting a dryer vent brush from outside of the home and pushing debris downward into the basement laundry room) requires sucking up the lint and other gunk collected on the drop cloth with a shop vac.
Once the debris is removed, reattach the hose and tighten the clamps. Then slide the dryer back into position against the wall.
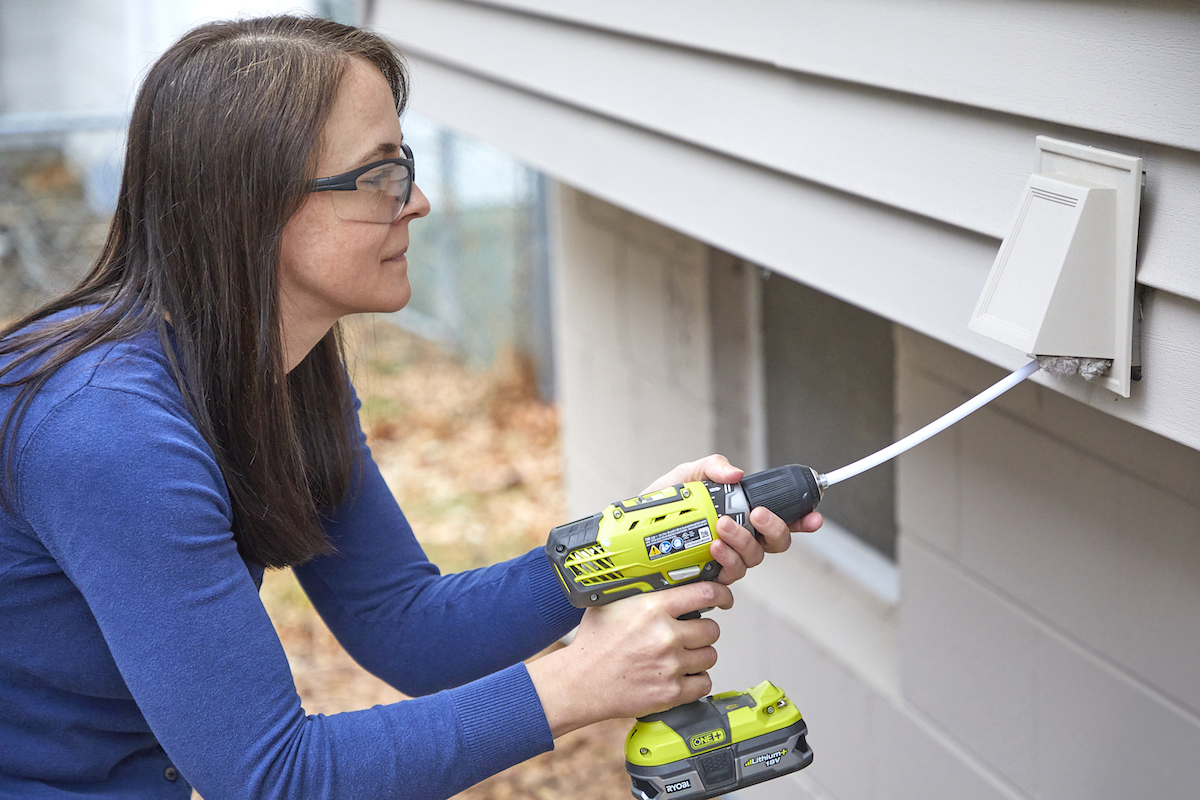
Step 5: Clean the exterior vent cover.
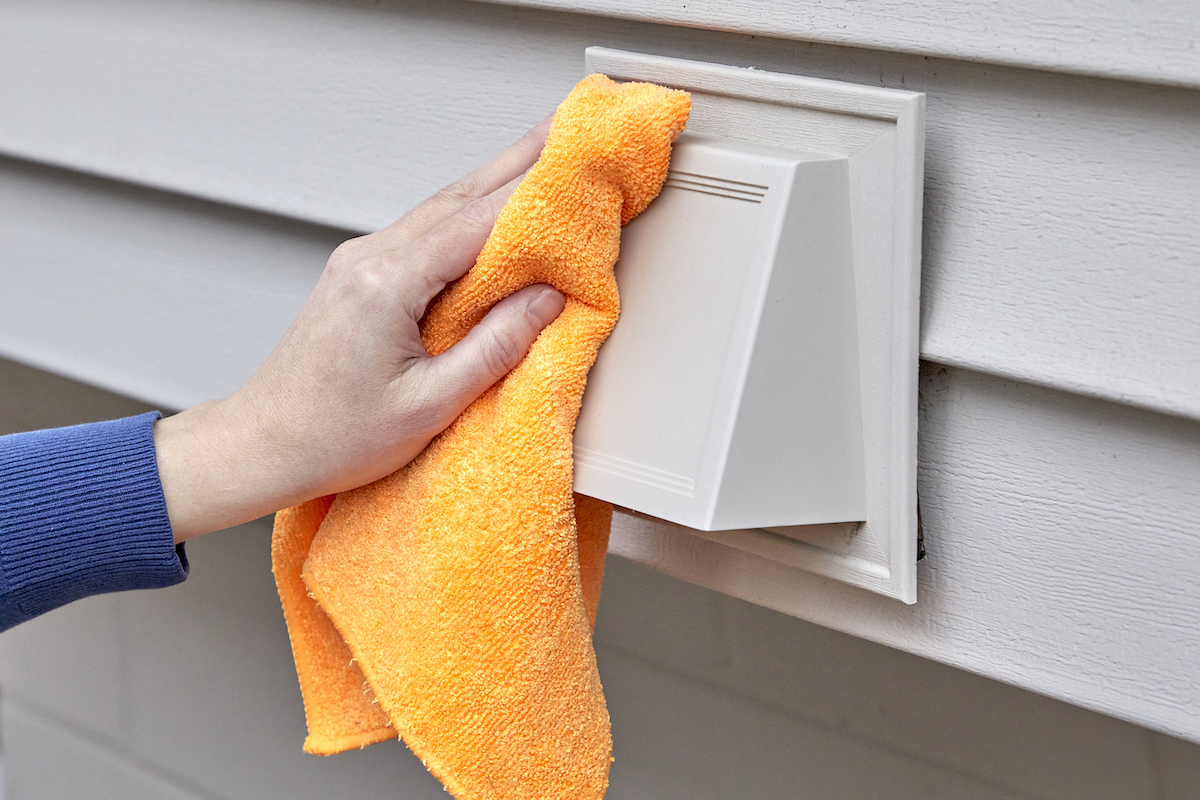
Use your hands or a vacuum attachment to clear out any accumulated lint in or around the exterior dryer vent cover. Wipe away remaining dust and debris with a microfiber cloth to ensure that the ventilation system is completely clean.
When the vent looks clear, go back inside the house, plug the dryer back in, reopen the gas line if you have a gas dryer, and run the empty machine on the air-dry setting for about 20 minutes. Check outside to make sure that both air and any remaining lint are blowing out of the vent before checking this important to-do off of your list.
Dryer Vent Cleaning Safety Precautions
There are several dryer vent cleaning safety precautions that make the job easier and safer.
- Enlist help to move a heavy clothes dryer and help prevent injury. Dryers are very heavy. If it’s difficult to move the machine by yourself, consider getting help from a friend or a family member to avoid injury.
- Wear a mask to avoid breathing in hair, lint, dust, and debris during cleaning. While cleaning the dryer vent hose, it’s a good idea to wear a dust mask or a respirator mask to protect against breathing in dust, dirt, hair, and other airborne debris.
- Test the dryer carefully to ensure there are no leaks in the ventilation system. After cleaning and replacing the vent hose, double-check that the hose is reconnected properly to avoid venting the dryer exhaust into the home. This is especially important for gas dryers which can cause the accumulation of carbon monoxide if the vent is not properly attached.
Regular Clothes Dryer Vent Maintenance
It’s important to clean your dryer vent at least once a year. If the buildup is so great that you can’t break through the lint, hire a professional.
A thorough yearly cleaning isn’t quite enough, however. It takes regular dryer maintenance to ensure that the appliance operates safely and efficiently.
- Limit the number of dryer sheets used. Fabric softeners and dryer sheets can clog your dryer’s lint filter and leave behind small amounts of potentially flammable chemicals that can accumulate over time. You might also consider using a lint brush to remove pet hair from your clothes before washing them to reduce buildup in the lint filter.
- Hang heavy bedding outside to dry. Duvets, bedspreads, and other heavy linens require much more heat and drying time than the average load, and this translates into more lint. Hanging them on a clothesline or drying rack means a lot less work (and lint) for your dryer.
- Clean the lint trap after every use. You can usually remove the lint with your hands, but from time to time you should rinse off the screen and vacuum out the compartment that holds it. Remember: If the lint trap is full, the lint has nowhere to go but onto your clothes or out into the vent.
FAQs
Q: Does your dryer have to vent outside?
While there are some electric dryers that are designed to vent indoors for locations like apartments and condos, this isn’t the case with most household dryers. If you have access to an exterior wall, it’s better to vent outdoors. Gas-powered dryers always need to vent outdoors to prevent the buildup of hazardous gases.
Q: Is venting a dryer into a house safe?
There are some apartment-sized electric dryers that may vent indoors, but venting inside can lead to serious mold, mildew, and other moisture-related issues. Venting indoors with a gas dryer, however, is absolutely not safe. The fumes produced by burning natural gas can build up indoors and cause serious harm or even death.
Q: Can I vent a dryer into the garage?
Venting an electric dryer into the garage may seem like a good idea, but unless the garage is always open to the outdoors, you will run the same risk of creating moisture-related problems, like mold and mildew. Likewise, venting a gas dryer into the garage can cause toxic fumes to increase within the enclosed space, causing a significant hazard to anyone within the garage.
Q: How do you fix a dryer vent that is disconnected?
To reconnect a dryer vent hose, simply loosen the existing brackets to allow the vent hose to slide over the transition pipe. Then tighten the brackets, making sure that they are tight enough to prevent the vent hose from sliding off or shifting. If the problem persists, you may need to replace the brackets or the vent hose.